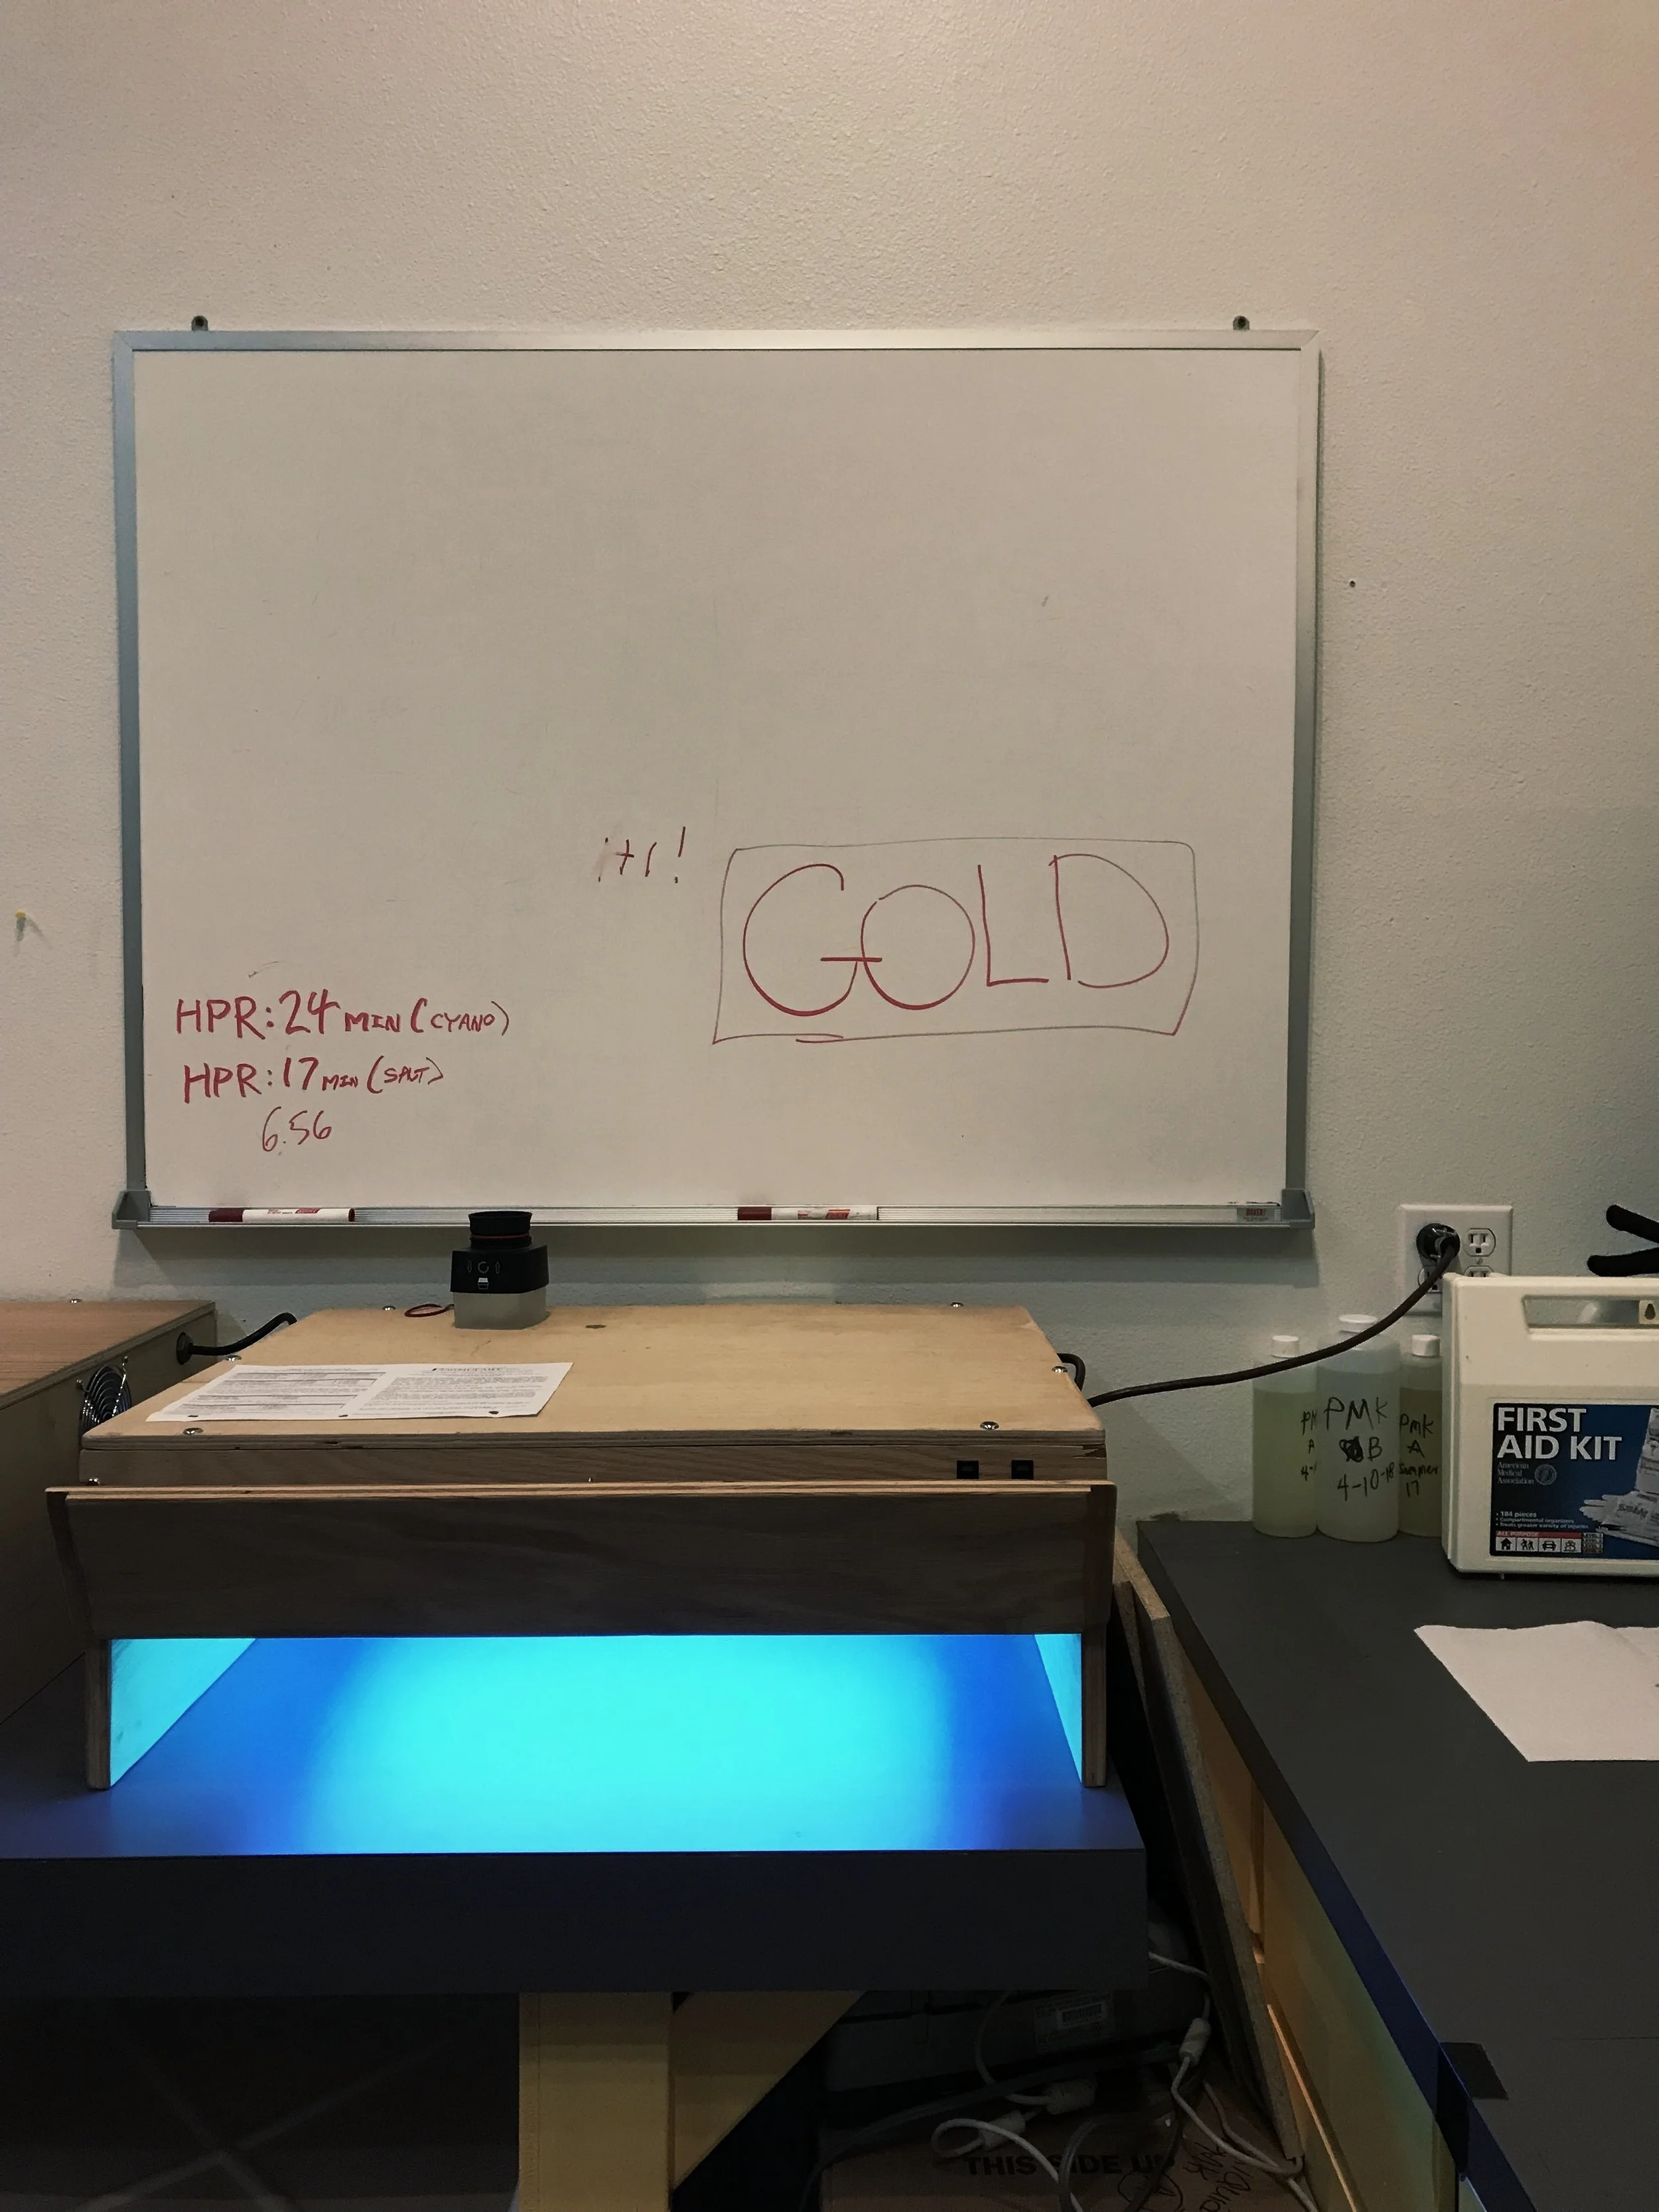
all that glitters (could be a cyanotype over gold gesso)
A lot of things drew me in to the alt process world— the art of the handmade, the applicable science, and the joy of analog, to name a few. One of the bigger draws, though, was the sense of discovery. I loved that despite alt's established history, so much of it was left to be found. This theory is also why I briefly wanted to be a marine biologist as a teenager, until I realized that it's not just scuba diving and exploring the uncharted waters of the world. But, even though the math and science would fly over my head, the discovery made it entirely enticing. Alternative processes are my photo world marine biology.
The best part of it all is that you don't have to find anything ground breaking. You don't have to reinvent the camera, you can just try something new. This is why I love experimenting with new pigments and papers, even if I'm almost certain that they won't be successful. You never know.
In that same vein, I recently tried printing cyanotypes over gold gesso at my Salt & Cyanotype workshop (which, by the way, major shoutout to the most top-notch student/person out there, Sarah B. Gilliam). Like I said, it doesn't have to be anything ground breaking— I've already printed salt over gesso. Cyanotype over gesso wasn't wildly exotic, but I hadn't tried it (nor had I seen anyone else work in cyanotype over gesso— if you have, let me know! I'd love to see their work). So, in the spirit of "why the hell not," I tried a cyanotype over gesso and it worked.
It wasn't so much that I didn't expect it to work, but I do have a track record of failed experiments (i.e. printing salt on cellulose-based Bhutan paper, printing salt with sulfuric fertilizer, printing gum bichromate on wood, you get the idea). The important thing, though, is that this one worked.
Endless enthusiasm courtesy of Sarah.
Once we got a system figured out, we were off and running. Almost every print had gesso on it— gesso under, gesso over, applied gesso— everything was covered in gold. It was serendipitous to be at a workshop, as it was perfectly acceptable to give every print the Midas touch from nine in the morning to midnight.

Cyanotype over gesso. ©Sarah B. Gilliam 2018

The first cyanotype over gesso of the week. ©Megan Crawford 2018

Cyanotype over gesso. ©Sarah B. Gilliam 2018
It all took me back to dreaming of discovering something new, be it a new species of coral or an underwater cavern that had its own thriving biosphere (I was rather imaginative when it came to the ocean). In this case, it was a subspecies of a process.
In short, this was pretty cool. What made it even better was sharing that experience with a student and being equally giddy about something as theoretically simple as gesso under a cyanotype.

CYANOTYPE OVER GESSO
Materials used:
Coating apparatus (Connoisseur hake brush, calligraphy brush, Puddle Pusher, etc)
Potassium Ferricyanide (PF for short)
Ferric Ammonium Citrate (FAC for short)
Hydrogen Peroxide
gesso prep & coating
Start out by diluting the gesso (I typically dilute down to 25%). Full strength gesso is great for brushing detailed bits on after the print is done, but even 50% is on the strong side for under cyanotype. Always mix the diluted gesso in its own designated cup. You don't really want to dilute down a $25 pot of gesso, especially if you're planning on using different solutions. I used distilled water to dilute the gesso, but it's not necessary.
Once the gesso mixture is ready to go, pour 1 teaspoon onto the center of the paper. Disperse the gesso over the paper with a foam roller, apply even pressure. To smooth out the gesso, lightly roll over it (and I mean lightly— just set the roller on the paper). Once you're satisfied with the gesso, you can blow dry it.
cyanotype prep, coating, exposing, & processing (classic)
I now use 10% solutions for both FAC and PF thanks to Christina Z. Anderson's extensive research. The 8/10 solutions still work, but the 10/10 is smoother and faster (thank you, Chris!). Mix your individual solutions, then combine them 1:1 as you would any other Cyanotype. I use a Connoisseur hake brush, a calligraphy brush, or a Puddle Pusher to coat the paper. Evenly disperse the cyanotype solution, let it air dry for 10-20 minutes, (depending on humidity) and blow dry. Use your standard cyanotype exposure time.
When the exposure is complete, process the print as normal. You'll need two trays: one for a citric acid wash (½ tsp of citric acid in water), and one for a regular water wash. Agitate the print in the citric acid wash for 2 minutes, transfer to the water wash, and agitate for 10-20 minutes. You can add the optional hydrogen peroxide at either step.
If anything, you can always bleach and tone a cyanotype (and, if you don't like how it toned, a citric acid wash will revert it back). Cyanotype is a forgiving process. You could also have a go at hand coloring, embroidery, or my personal favorite, gesso.
Thank you to Sarah for being a such a wonderful and sweet student, and to Chris for being a wealth of help and knowledge! None of this would have come to be without you two.
